How to install the Recovery Console to your
hard drive
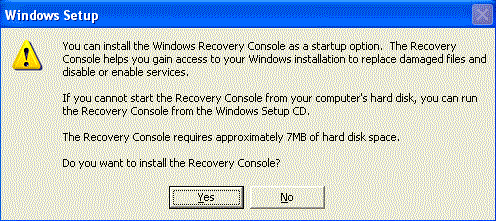
I recommend that you install the Recovery Console directly onto your computer so that if you need it in the future, it is readily available. The Recovery Console only takes up approximately 7 megabytes so there is no reason why you should not have it installed in case you need it.
To install the Recovery Console on your hard drive, follow these steps:
- Insert the Windows XP CD into your CD-ROM drive.
- Click the Start button.
- Click the Run menu option.
-
In the Open: field type X:\i386\winnt32.exe /cmdcons , where X is the drive letter for your CD reader, and press the OK button. An image of this step can be found below:

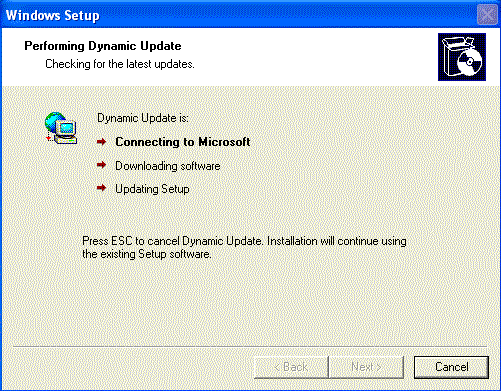
- After pressing the OK button a setup window will appear similar to
the one below.


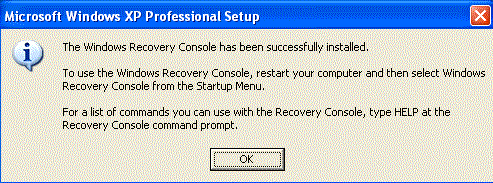
Simply allow it to continue and then when it is finished, you will be presented with a screen similar to the one below telling you so.

- Press the OK button and remove the CD from your computer.


0 comments:
Post a Comment